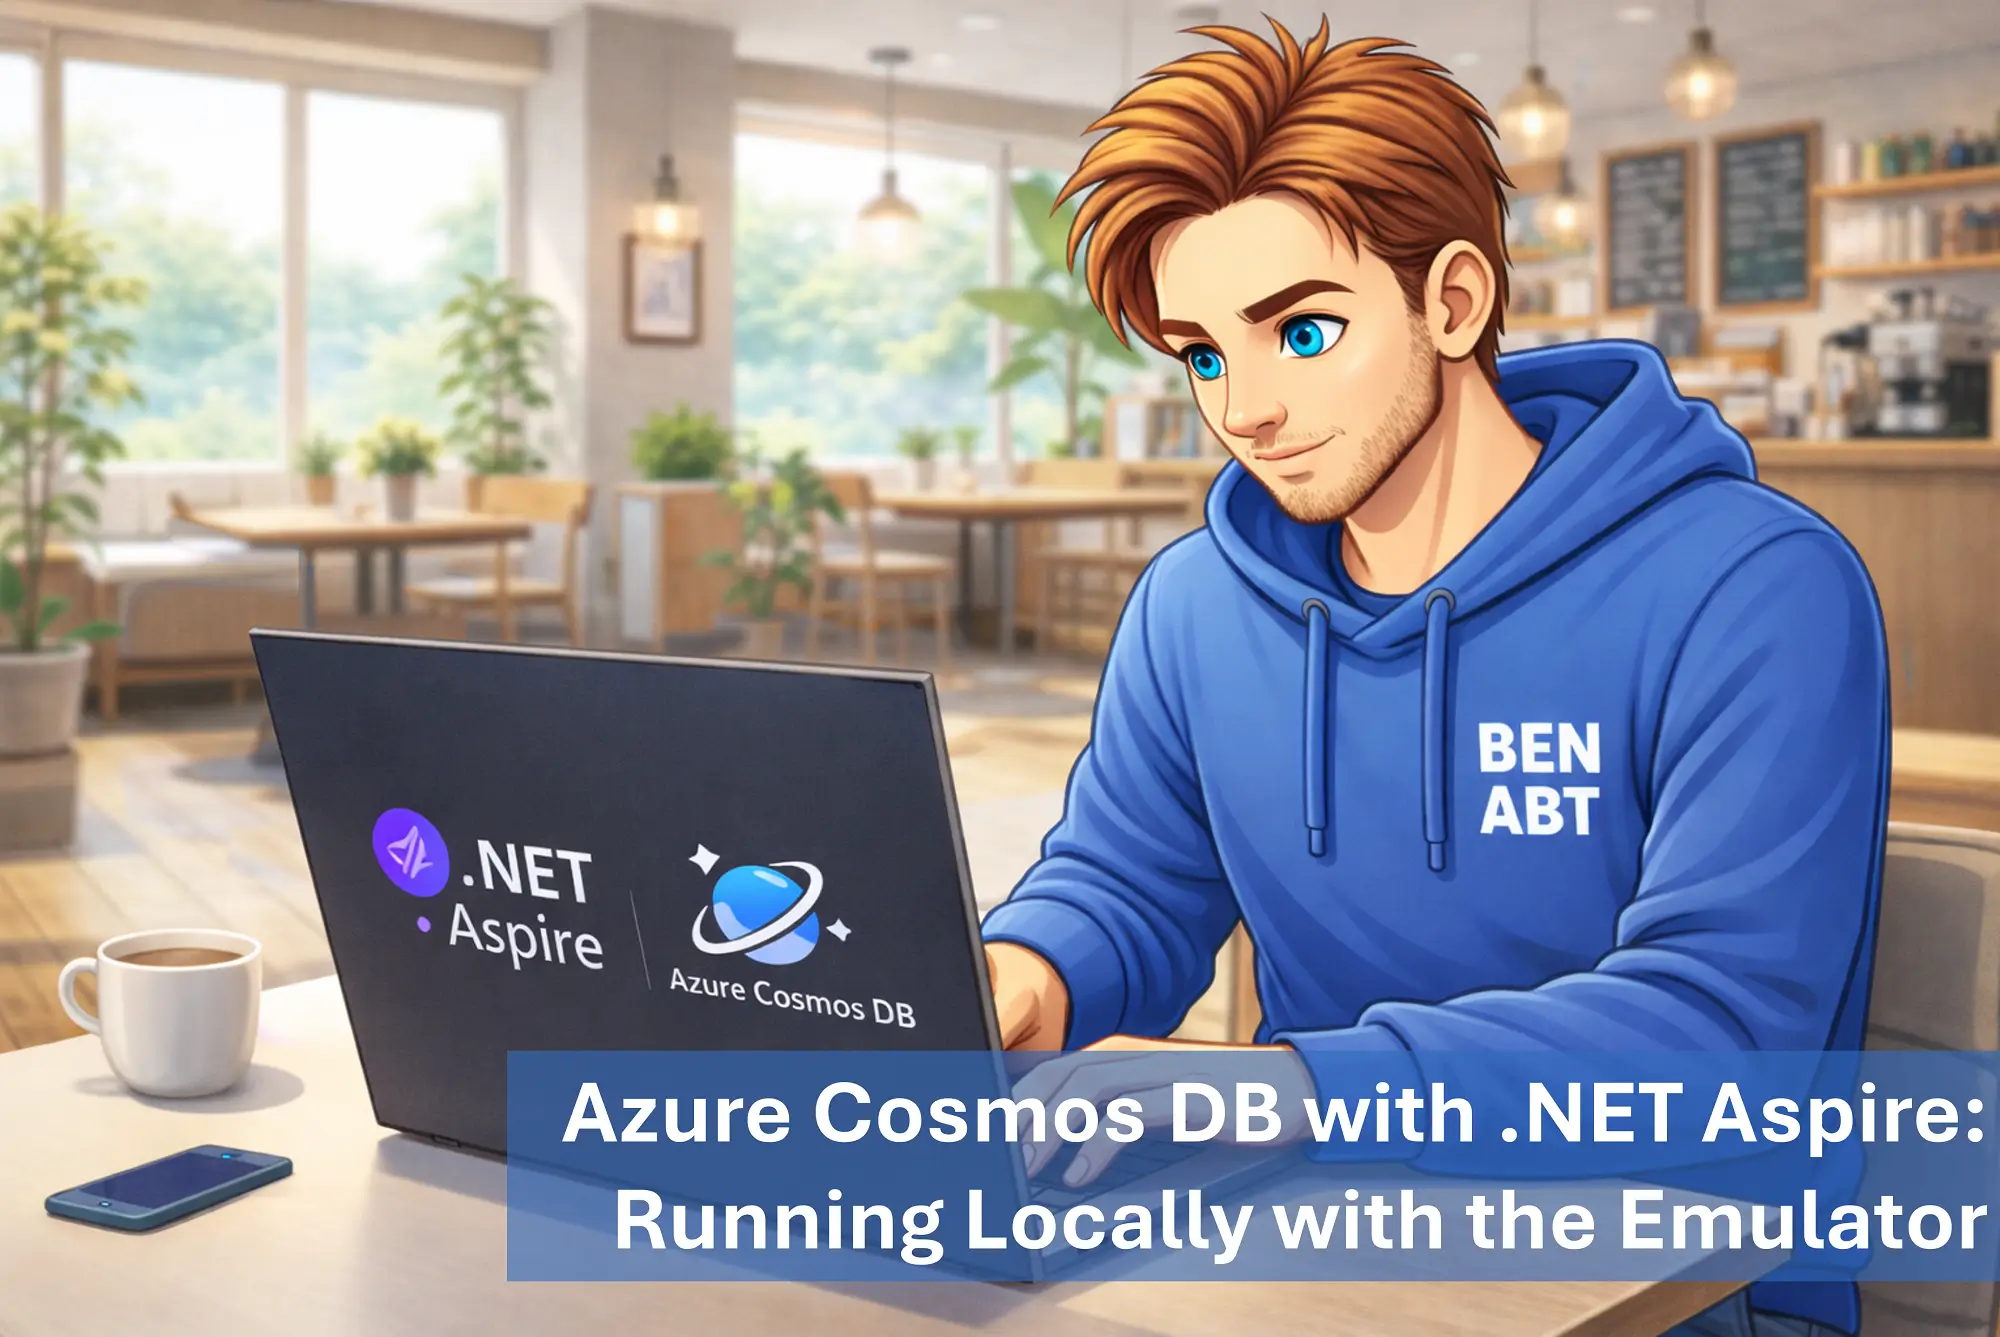
When building cloud-native .NET applications, two goals often matter at the same time: a fast local development loop and a clean path to real Azure resources for publish mode. .NET Aspire with Azure Cosmos DB supports exactly this pattern.
This post explains how to run Azure Cosmos DB locally with the emulator, while still provisioning real Azure Cosmos DB when publishing. A special focus is one detail that is often missed: additional emulator endpoint registrations, so those endpoints show up clearly in the Aspire dashboard.
Why this pattern is useful
A split between local emulator and publish-time cloud resources creates a reliable workflow:
- Local development is fast and does not depend on always-on cloud resources.
- Publish mode still targets real Azure infrastructure.
- Connection wiring remains consistent through Aspire resource references.
- The Aspire dashboard becomes much more useful when emulator endpoints are explicitly registered.
Prerequisites
Prerequisites:
- A .NET Aspire solution with an AppHost project
- Docker Desktop running locally
- Aspire packages for Azure Cosmos DB that match the solution version
- A service project (for example API) that consumes Cosmos DB
AppHost setup: publish mode vs local emulator mode
The most important part is branching infrastructure setup based on publish mode.
In publish mode, real Azure Cosmos DB resources are provisioned. In local mode, the emulator container is used.
The following AppHost snippet demonstrates a clean two-branch setup. One branch handles cloud provisioning for publish workflows, while the other branch starts the local emulator with an explicit lifetime and dashboard-visible endpoints. This keeps local and publish behavior explicit and predictable.
 1using Aspire.Hosting;
 2using Aspire.Hosting.Azure;
 3
 4// Local development uses the Cosmos DB emulator container;
 5// publish mode uses real Azure Cosmos DB serverless provisioning.
 6IResourceBuilder<IResourceWithConnectionString> database;
 7
 8if (builder.ExecutionContext.IsPublishMode)
 9{
10    // In publish mode, Aspire provisions Azure resources.
11    IResourceBuilder<AzureCosmosDBDatabaseResource> azureDb = builder
12        .AddAzureCosmosDB("cosmos")
13        .AddCosmosDatabase("myDb");
14
15    database = azureDb;
16}
17else
18{
19#pragma warning disable ASPIRECOSMOSDB001
20    // In local mode, use the preview emulator.
21    IResourceBuilder<AzureCosmosDBDatabaseResource> localDb = builder
22        .AddAzureCosmosDB("cosmos")
23        .RunAsPreviewEmulator(emulator =>
24            emulator
25                // Enables the Cosmos Data Explorer experience.
26                .WithDataExplorer()
27
28                // Persists emulator container data across restarts.
29                .WithLifetime(ContainerLifetime.Persistent)
30
31                // IMPORTANT: Explicit endpoint registrations.
32                // This is the key to making emulator endpoints clearly visible
33                // in the Aspire dashboard resource view.
34                .WithEndpoint(name: "cosmos-gateway", targetPort: 8081)
35                .WithEndpoint(name: "cosmos-explorer", targetPort: 1234)
36        )
37        .AddCosmosDatabase("myDb");
38#pragma warning restore ASPIRECOSMOSDB001
39
40    database = localDb;
41}
This structure keeps infrastructure intent obvious in code: cloud resources in publish pipelines, emulator resources during local development. The explicit endpoint definitions are especially useful for team visibility in the Aspire dashboard.
Why additional endpoint registrations matter
In many setups, the emulator technically works, but dashboard visibility is limited when relying only on defaults. The result is that teammates see the Cosmos resource but not always the endpoint details they need.
By registering endpoints explicitly in RunAsPreviewEmulator(...), dashboard discoverability improves:
- Endpoint entries are easier to spot in the resource details.
- Developers can quickly open emulator-related links.
- Port mapping issues become visible immediately during local debugging.
This small addition improves daily developer experience significantly.
Wire the Cosmos resource into the service project
Once the resource is created, reference it from the consuming project.
The next step is to connect the application project to the previously declared Cosmos resource. This resource reference is what allows Aspire to inject the correct connection information for the active mode (local emulator or published Azure resource).
1IResourceBuilder<ProjectResource> api = builder
2    .AddProject<Projects.MyApp_Api>("api")
3    .WithReference(database);
This keeps connection handling centralized in Aspire and avoids hardcoded local connection values.
Register Cosmos context in the API
Inside the service project, bind a strongly typed options object and register the context abstraction.
The registration layer is responsible for translating configuration into strongly typed options and exposing a single application-level context interface. This keeps composition-root logic simple and avoids leaking infrastructure details into business code.
 1using Microsoft.Extensions.Options;
 2
 3private static IServiceCollection AddCosmosDbContext(
 4    this IServiceCollection services,
 5    IConfiguration configuration)
 6{
 7    // Bind the "Database" section to a typed options object.
 8    IConfigurationSection dbConfigSection = configuration.GetRequiredSection("Database");
 9
10    AzureCosmosDbContextOptions dbOptions = dbConfigSection.Get<AzureCosmosDbContextOptions>()
11        ?? throw new InvalidOperationException("Failed to bind Database configuration section.");
12
13    // Register options + application db context abstraction.
14    services.AddSingleton(Options.Create(dbOptions));
15    services.AddSingleton<IMyDbContext, AzureCosmosDbContext>();
16
17    return services;
18}
Using an interface such as IMyDbContext also keeps unit and integration testing flexible, because implementations can be swapped without rewriting dependent services.
Options class with clear code documentation
The options type defines the minimal contract required by the context: database name, default container name and optional JSON converters. Data annotations help fail fast when configuration is incomplete.
 1using System.ComponentModel.DataAnnotations;
 2using Newtonsoft.Json;
 3
 4/// <summary>
 5/// Configuration for Cosmos DB access and JSON serialization.
 6/// </summary>
 7public sealed class AzureCosmosDbContextOptions
 8{
 9    /// <summary>
10    /// Gets or sets the Cosmos DB database name.
11    /// </summary>
12    [Required]
13    public required string DatabaseName { get; set; }
14
15    /// <summary>
16    /// Gets or sets the default container name used by repositories.
17    /// </summary>
18    [Required]
19    public required string DefaultContainerName { get; set; }
20
21    /// <summary>
22    /// Gets or sets JSON converters registered for model serialization.
23    /// </summary>
24    public List<JsonConverter> Converters { get; set; } = [];
25}
Separating these values into a dedicated options object also makes environment-specific configuration easier to reason about and validate.
Context constructor using Aspire-wired CosmosClient
After dependency injection is configured, the context implementation consumes the CosmosClient and resolves the target database/container from typed options. Resolving these references once in the constructor keeps later repository operations straightforward.
 1using Microsoft.Azure.Cosmos;
 2using Microsoft.Extensions.Options;
 3
 4public sealed class AzureCosmosDbContext : IMyDbContext
 5{
 6    private readonly CosmosClient _client;
 7    private readonly Container _container;
 8
 9    /// <summary>
10    /// Initializes a Cosmos context using DI-provided <see cref="CosmosClient"/>
11    /// and typed database options.
12    /// </summary>
13    public AzureCosmosDbContext(
14        CosmosClient client,
15        IOptions<AzureCosmosDbContextOptions> optionsAccessor)
16    {
17        _client = client;
18
19        AzureCosmosDbContextOptions options = optionsAccessor.Value;
20        string databaseName = options.DatabaseName;
21        string containerName = options.DefaultContainerName;
22
23        // Resolve references once for default repository operations.
24        Database database = _client.GetDatabase(databaseName);
25        _container = database.GetContainer(containerName);
26    }
27
28    public Container GetDefaultContainer() => _container;
29}
This is intentionally minimal and focused: one initialized container reference, one clear responsibility and no hidden connection bootstrap logic.
Minimal configuration example
The following configuration represents the small set of values needed by the options class. In real projects, these values usually come from environment-specific files or deployment-time configuration providers.
1{
2  "Database": {
3    "DatabaseName": "myDb",
4    "DefaultContainerName": "main"
5  }
6}
In local runs, Aspire injects the emulator connection information. In publish mode, Aspire resolves connection settings from the real Azure Cosmos DB resource.
Verify endpoint visibility in Aspire dashboard
After starting the AppHost locally:
- Open the Aspire dashboard.
- Select the
cosmosresource. - Check whether additional endpoint entries (for example
cosmos-gatewayandcosmos-explorer) are visible. - Open an endpoint link and verify that the target is reachable.
If endpoints do not appear, validate:
- The code path is actually in local mode (not publish mode).
RunAsPreviewEmulator(...)is active..WithEndpoint(...)registrations are present.- Docker started the emulator successfully.
- Endpoint names and ports match the installed Aspire/Cosmos emulator version.
Final thoughts
This setup is a practical way to combine local productivity with cloud-ready architecture: use the Cosmos emulator for daily development and keep Azure provisioning in publish mode.
The key improvement is simple: register the emulator endpoints explicitly. It takes only a few lines of code, but it makes the Aspire dashboard much clearer for everyone working on the project.
Related articles
Mar 25, 2026 · 14 min read
The new Microsoft Testing Platform for .NET: An introduction with practical samples and migration guidance
Testing in .NET has historically been associated with VSTest. That choice was reasonable for a long time because VSTest offered broad …
Mar 17, 2026 · 15 min read
GitHub Copilot - Custom Agents for Full-Stack Teams: A Practical Operating Model for .NET, React and Azure
GitHub Copilot custom agents allow teams to define specialized AI assistants, each with its own role, tool access and behavioral boundaries. …

Mar 10, 2026 · 15 min read
.NET NuGet Trusted Publishing with GitHub Actions
Publishing NuGet packages has traditionally required one uncomfortable compromise: a long-lived API key had to exist somewhere in the …
Author

BEN ABT
Ben is a Principal Software Engineer at Medialesson.de, with a strong focus on .NET and Microsoft Azure. In his professional role, he designs and builds highly scalable platforms for hybrid and cloud-based scenarios. He also advises companies and C-levels on migrating to the sovereign cloud.
He runs myCSharp.de, the largest and most active German-speaking C# community forum, actively contributes to both his own and external open-source projects and regularly shares his knowledge through his blog, at community events, conferences and as a writer for technical magazines.
Let's Work Together
Looking for an experienced Platform Architect or Engineer for your next project? Whether it's cloud migration, platform modernization or building new solutions from scratch - I'm here to help you succeed.
Comments